Creating a website that can gather information from users and store it in a database is a core skill in web development. We’ll take you through this process using PHP and MySQL, along with Bootstrap for a user-friendly front end. By the end, you’ll know how to set up a form, collect data, and save it in a database. Let’s get started!

Overview: What We’ll Be Building
Imagine you want to create a website for users to submit feedback. Each user fills out a form with their name, email, and a brief message. We’ll store this data in a MySQL database so that it can be retrieved later. Here’s an outline of what we’ll cover:
- Setting up a Bootstrap form that users can fill out.
- Understanding form submission and how PHP processes data.
- Creating a MySQL database and table to store information.
- Connecting to the database with PHP and saving the data.
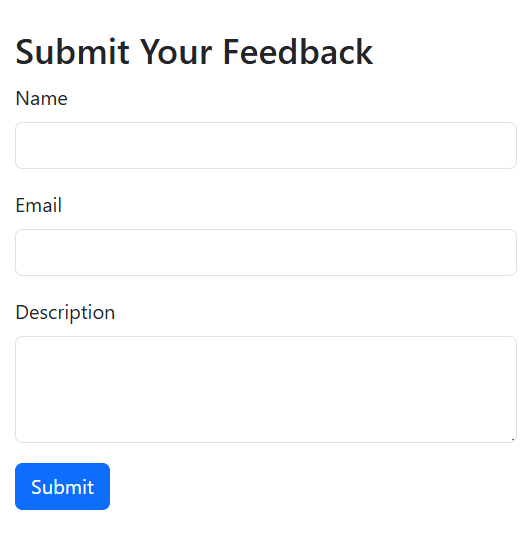
Step 1: Setting Up a Form with Bootstrap
First, let’s create a simple form using Bootstrap, a popular CSS framework. Bootstrap makes it easy to create a nice-looking, responsive design.
Creating the HTML Form
- Open a text editor (such as Notepad++ or VS Code) and create a new file named index.html.
- Paste the following HTML code into your file: html
   <!doctype html>
   <html lang="en">
   <head>
       <meta charset="utf-8">
       <meta name="viewport" content="width=device-width, initial-scale=1">
       <title>Feedback Form</title>
       <!-- Bootstrap CSS Link -->
       <link href="https://cdn.jsdelivr.net/npm/bootstrap@5.3.3/dist/css/bootstrap.min.css" rel="stylesheet">
   </head>
   <body>
       <div class="container mt-5">
           <h1>Submit Your Feedback</h1>
           <form action="process.php" method="POST">
               <div class="mb-3">
                   <label for="name" class="form-label">Name</label>
                   <input type="text" class="form-control" id="name" name="name" required>
               </div>
               <div class="mb-3">
                   <label for="email" class="form-label">Email</label>
                   <input type="email" class="form-control" id="email" name="email" required>
               </div>
               <div class="mb-3">
                   <label for="description" class="form-label">Description</label>
                   <textarea class="form-control" id="description" name="description" rows="3"></textarea>
               </div>
               <button type="submit" class="btn btn-primary">Submit</button>
           </form>
       </div>
       <script src="https://cdn.jsdelivr.net/npm/bootstrap@5.3.3/dist/js/bootstrap.bundle.min.js"></script>
   </body>
   </html>
Explanation of the HTML Code
- Form: The form’s action attribute points to process.php, where we’ll handle the form data. The method=”POST” means data is sent securely to the server.
- Form Fields: Each input field has a name attribute, which is essential because PHP uses it to retrieve data.
- Name: The user’s name.
- Email: The user’s email address.
- Description: A brief message or feedback from the user.
- Bootstrap Styling: Bootstrap classes like container, mb-3, and form-control make the form look modern and clean.
Why Use GET or POST?
GET: Data is appended to the URL, visible to users, and has size limitations. Use it for retrieving or viewing data.
POST: Data is sent in the HTTP request body, making it secure and suitable for sensitive information or long entries.
Advantages and Disadvantages:
| Method | Advantages | Disadvantages |
| GET | Data is cached, faster for reloading Limited data | less secure for sensitive data |
| POST | Data is secure, larger data capacity Not cached | slower to load |
For this example, we’ll use POST since it’s more secure for form submissions.
Step 2: Setting Up the MySQL Database
Before our form data can be stored, we need a MySQL database and a table.
- Open MySQL: You can do this using the command line or a tool like phpMyAdmin.
- Create a Database: Type the following command to create a new database named FeedbackDB. sql
CREATE DATABASE FeedbackDB;
USE FeedbackDB; - Create a Table: Next, create a table named feedback with columns to store each piece of data from the form. sql
CREATE TABLE feedback (
id INT AUTO_INCREMENT PRIMARY KEY,
name VARCHAR(255) NOT NULL,
email VARCHAR(255) NOT NULL,
description TEXT
);
Explanation of Each Column
- id: A unique identifier for each feedback entry. This is an AUTO_INCREMENT field, meaning it will automatically increase by 1 for each new record.
- name: Stores the user’s name. We set it to VARCHAR(255), which means it can hold up to 255 characters.
- email: Stores the user’s email, also set to VARCHAR(255).
- description: Stores the feedback message. We use TEXT because it can hold larger amounts of text.
Step 3: Processing the Form Data in PHP
Now that our database is set up, let’s create process.php to handle the form submission. This PHP file will connect to the database, save the form data, and give feedback to the user.
Writing the PHP Code
- In your text editor, create a new file named process.php.
- Paste the following PHP code: php
<?php
// Database configuration
$servername = "localhost"; // Server location
$username = "root"; // MySQL username (default is 'root' on localhost)
$password = ""; // MySQL password (default is empty on localhost)
$dbname = "FeedbackDB"; // Name of the database we created // Create a connection to MySQL
$conn = new mysqli($servername, $username, $password, $dbname); // Check if the connection was successful
if ($conn->connect_error) {
die("Connection failed: " . $conn->connect_error);
} // Check if the form is submitted
if ($_SERVER["REQUEST_METHOD"] == "POST") {
// Collect data from form fields
$name = $conn->real_escape_string($_POST['name']);
$email = $conn->real_escape_string($_POST['email']);
$description = $conn->real_escape_string($_POST['description']); // Insert the data into the feedback table
$sql = "INSERT INTO feedback (name, email, description) VALUES ('$name', '$email', '$description')"; if ($conn->query($sql) === TRUE) {
echo "Thank you for your feedback!";
} else {
echo "Error: " . $sql . "
" . $conn->error;
}
} // Close the connection to MySQL
$conn->close();
?>
Explanation of Each Section in the PHP Code
- Database Connection Setup: We define four key pieces of information for the database connection:
- $servername: The location of the database server. For local setups, this is usually “localhost”.
- $username: The MySQL user (default is “root” on local setups).
- $password: Password for the MySQL user (often empty on local installations).
- $dbname: The name of the database we created (“FeedbackDB”).
- Creating a Connection: The line $conn = new mysqli(…) attempts to connect to MySQL. If the connection fails, an error message will be displayed.
- Checking the Form Submission: The if ($_SERVER[“REQUEST_METHOD”] == “POST”) statement checks if the form was submitted using the POST method.
- Retrieving and Securing User Input:
- Sanitizing Data: We use $conn->real_escape_string($_POST[‘name’]) to escape any special characters in user inputs, protecting against SQL injection attacks.
- Using $_POST: Each form field has a name attribute (name, email, and description), allowing us to access the form data using $_POST[‘name’], $_POST[’email’], and $_POST[‘description’].
- Inserting Data: We use an INSERT INTO SQL query to save the form data into the feedback table.
- Success/Error Message: If the query runs successfully, a thank-you message is displayed. Otherwise, an error message with details will appear.
Step 4: Testing the Form
- Open index.html in your browser.
- Fill out the form with your name, email, and a description.
- When you click “Submit,” the form data is sent to process.php.
- If everything is set up correctly, you should see a “Thank you for your feedback!” message.
- To verify, check your MySQL database by running SELECT * FROM feedback; in MySQL. You should see your form entries in the feedback table.
Real-Life Example: How This is Useful
Imagine you’re running a website for a small business, and you want to collect customer feedback. By using this setup, you can create a form on your website where customers can submit their thoughts. You can then use the stored feedback to improve your business, respond to customer needs
, or even display testimonials (after getting permission).
Or, if you’re building a website with a registration form, a similar setup allows you to store usernames, passwords, and emails, enabling user accounts and a login system.
Summary
You’ve now built a PHP form that collects user data and stores it in a MySQL database. Here’s a quick recap of the steps:
- Bootstrap Form Creation: Set up a form with input fields for name, email, and description.
- Database Creation: Created a database and table to store the form data.
- Form Handling in PHP: Used PHP to process form submissions and save them in the database.
This simple yet powerful foundation can be adapted to a wide range of projects, from contact forms to user registration systems. Congratulations on making it through!
I found this very helpfull nice work Rudra ji